
diy,


DIY Bookmarks

I love "Do It Yourself" but I don't post them because most of my DIYs are done in the heat of the moment. I got the inspiration for this DIY when I was going through Ebony life's Instagram page and came across this picture.
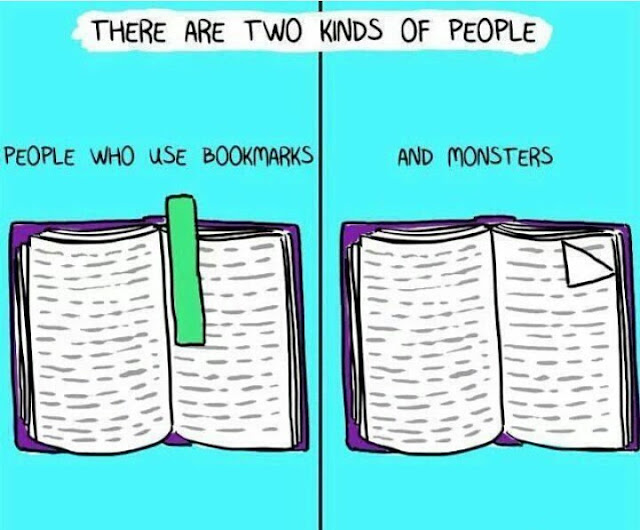

That got me thinking...Am I a monster? I never fold my books to mark pages but I didn't have a bookmark so I decided to make some.
What You'll Need:
•Cardboard (I suggest the decorative kind just to add some)
•Paper wrapping paper
•Glue
•Ruler
•A pair of scissors
•Gel pens
•Tape rule
•Paper wrapping paper
•Glue
•Ruler
•A pair of scissors
•Gel pens
•Tape rule

How To Go About It
First set up your material. Do this to ensure you don't miss anything out.
Using a ruler and tape, measure out the length you want your bookmark to be on the cardboard. I used 6 inches.
Note: it's best to do this measurement around the edge of the cardboard. It makes cutting it easier.
Note: it's best to do this measurement around the edge of the cardboard. It makes cutting it easier.

Cut the measured part out with your scissors and set aside.
Note: cut the cardboard carefully (You'll see why later on).
Note: cut the cardboard carefully (You'll see why later on).
Now to the decorative wrapping paper. You're just going to place the cut out piece of cardboard on it and cut giving enough allowance.

Glue one side of the cardboard and one side of the wrapping paper. Place the cardboard in the middle of the wrapping paper and apply a little pressure.
Note: Make sure you apply enough glue to the edges of the cardboard. If not, after a while, it would start raising up around the edges.
Note: Make sure you apply enough glue to the edges of the cardboard. If not, after a while, it would start raising up around the edges.


Remember when I said you should cut the cardboard carefully, it's for this purpose. Now cut following the edges of the cardboard.

Finally, this part is optional. You can design your bookmark how ever you wish. There are seemingly endless options to choose from: glitter, gel pens, markers, you could even add a fringe. Just do whatever you like.
And voilà, your bookmarks are ready.


See how easy that is?
So stop being a monster and make a bookmark.
So stop being a monster and make a bookmark.

I like ❤❤❤
ReplyDeleteMira La Belle blog
Thank you dear
DeleteBeautiful
ReplyDeleteThank you Ira!
ReplyDelete